This post may contain affiliate links. Read our privacy policy.
Pocky is a classic snack that everyone loves because of its simple yet satisfying combination of crunchy texture and sweet chocolate.
Jump to:
Watch the recipe video
Let's make Pocky from scratch!
Pocky is a classic snack consisting of crunchy stick-shaped biscuits coated with chocolate, making it easy to eat.
While it may be easier to buy pre-made Pocky since coating each biscuit individually with chocolate can be quite time-consuming, I personally enjoy making it myself as it allows for customization and adds a touch of luxury.
History of Pocky
Pocky originated from German pretzels!
Pocky is a snack born in Japan, and in Europe, it is known and loved as MIKADO. In Japan, there is a similar snack to Pocky called "Pretz," which was developed in the 1960s to popularize the German snack "pretzel" as a Japanese snack.
Pretzels are famous in Japan for their bread, but they are also made in small, thin strips and baked like cookies to last for a long time. Pretzels are also available in two shapes, one with a knotted shape, which is a characteristic of pretzels, and the other in a stick shape.
The stick-shaped biscuit was used as a reference for making Pretz, and it is mainly eaten as a snack to accompany alcohol. This type of pretzel is also popular in France, especially in the Alsace region, which has deep ties to Germany.
From Aperitif to Kid's Snack
When the first Prits were sold in Japan, they were marketed as an "aperitif" for adults, but they did not become popular because children consumed them as a "snack".
So, in order to change the direction to a snack for children, they sold "sweet" Butter Pretz, which exploded in popularity and became out of stock one after another.
Pocky was launched in 1966, a little later than the launch of Pretz, and three years after Butter Pretz was launched in 1963.
Today, Pocky is one of the most popular snacks in Europe, where it is sold under the name MIKADO.
European pretzels have been exported back to Japan as 'Mikado' and have become beloved snacks in both regions for a long time.
Ingredients
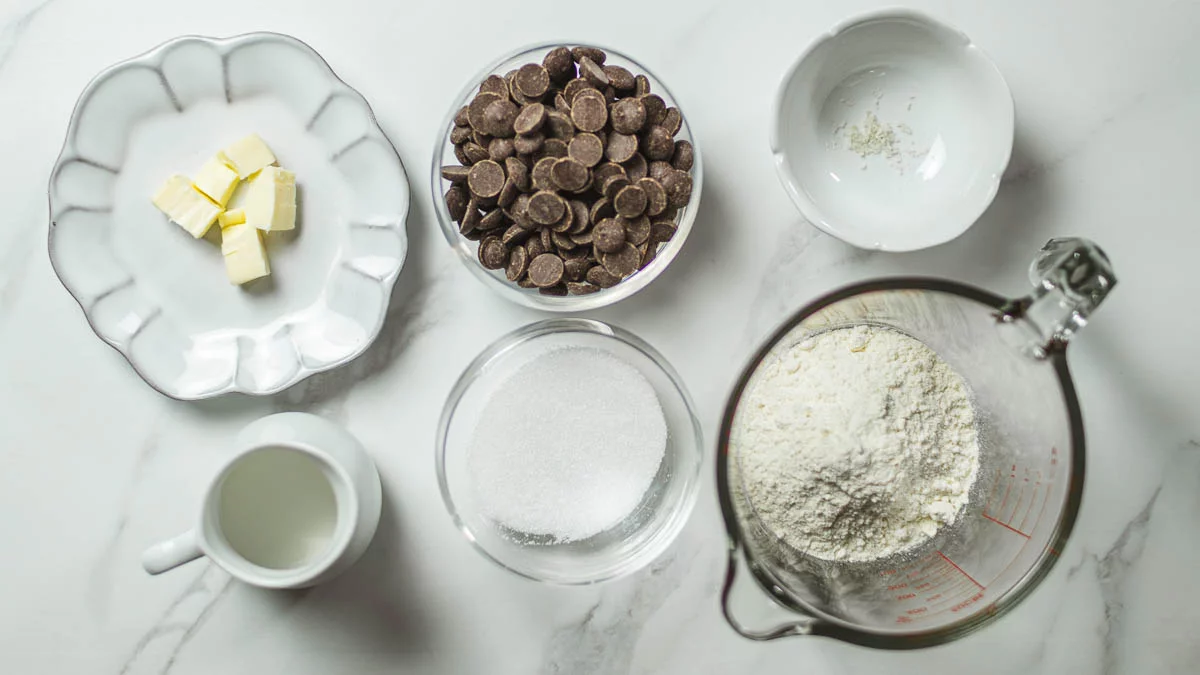
- Cake flour
- Granulated sugar
- Salt
- Unsalted butter
- Chocolate (for coating) - I use Callebaut 811 (54.5% cocoa). Caution! Callebaut's chocolate is in the form of chocolate chips for easy melting, but not chocolate chips for baking! ( chocolate chips for baking is highly resistant to heat and does not melt easily.)
For Cocoa Dough +
- Cocoa powder
- White chocolate
Instructions
Preparation
- Line a baking sheet with parchment paper.
- Preheat the oven to 170℃(338℉) about 10 minutes before baking.
- Prepare a zipper or plastic bag that is around 13cm (5 inches) in both height and width (if available).
Pocky Dough
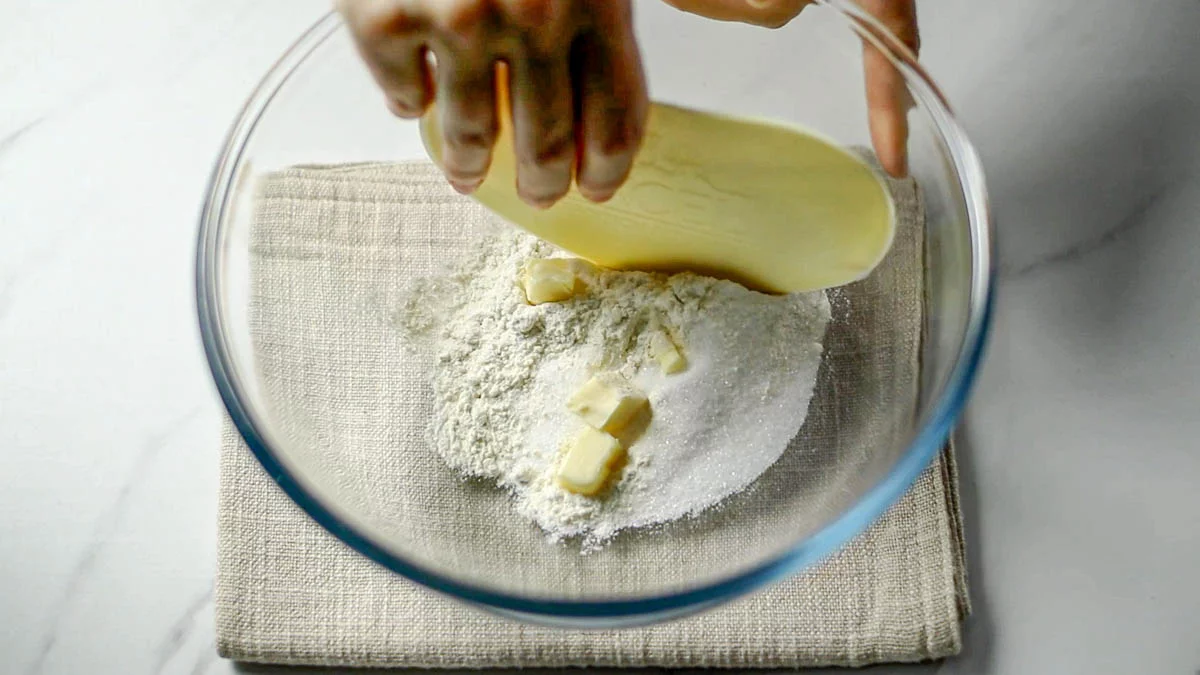
In a bowl, combine the flour, granulated sugar, salt, and cut unsalted butter and roughly chop the butter with a scraper.
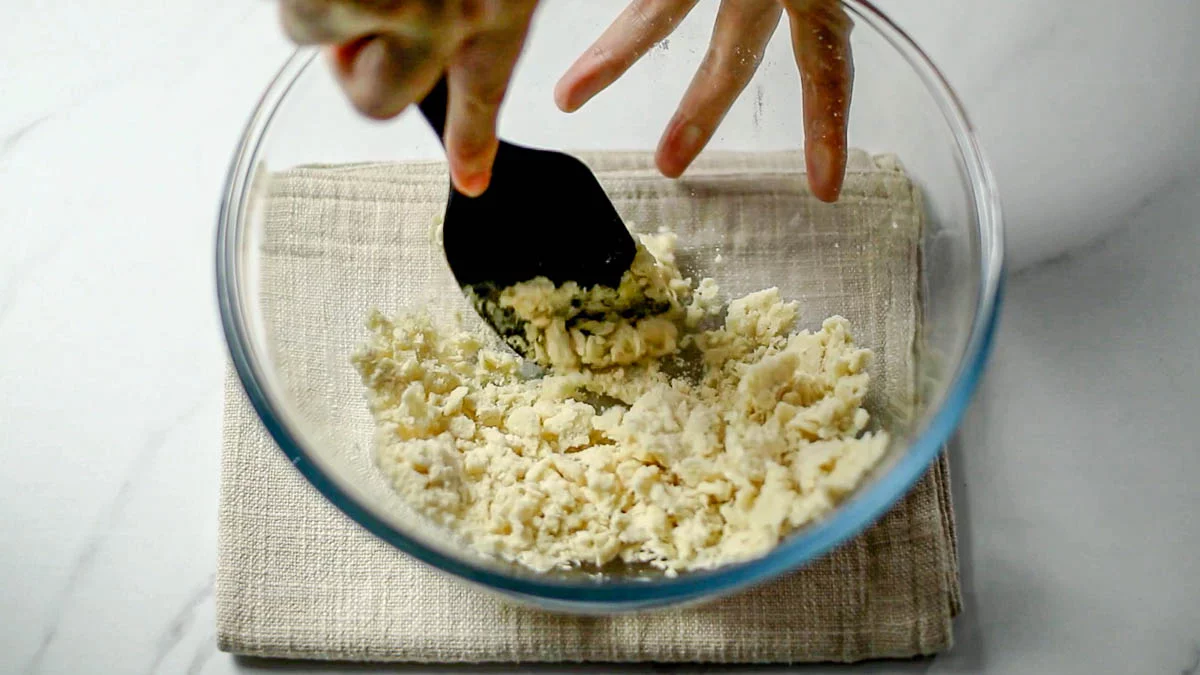
Add milk and mix further. The milk will be spread over the entire mixture and it will start to become polly.
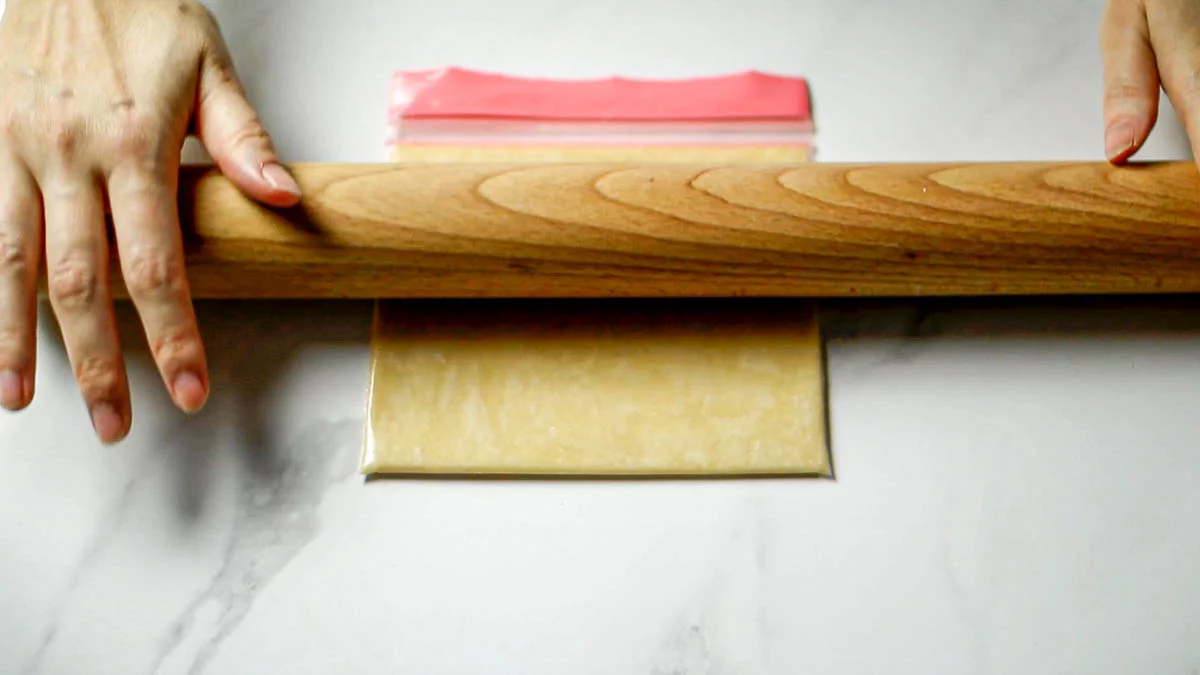
Put the dough in the zipper bag or plastic bag (if available) and roll it out with a rolling pin to a thickness of about 3mm (0.12 inches). If you don't have a zipper bag or plastic bag, you can wrap the dough in plastic wrap to roll out to the desired size. Make sure the dough is well combined and there are no lumps of butter or other ingredients.
Put the dough in the freezer for about 10 minutes to chill it well.
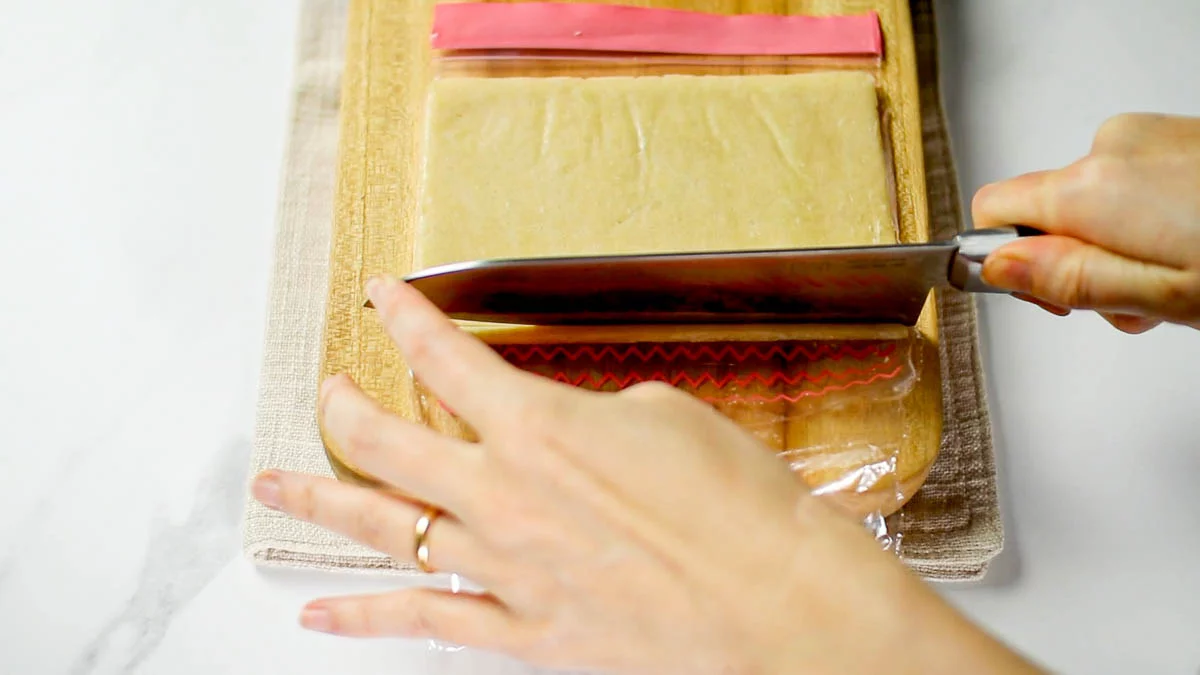
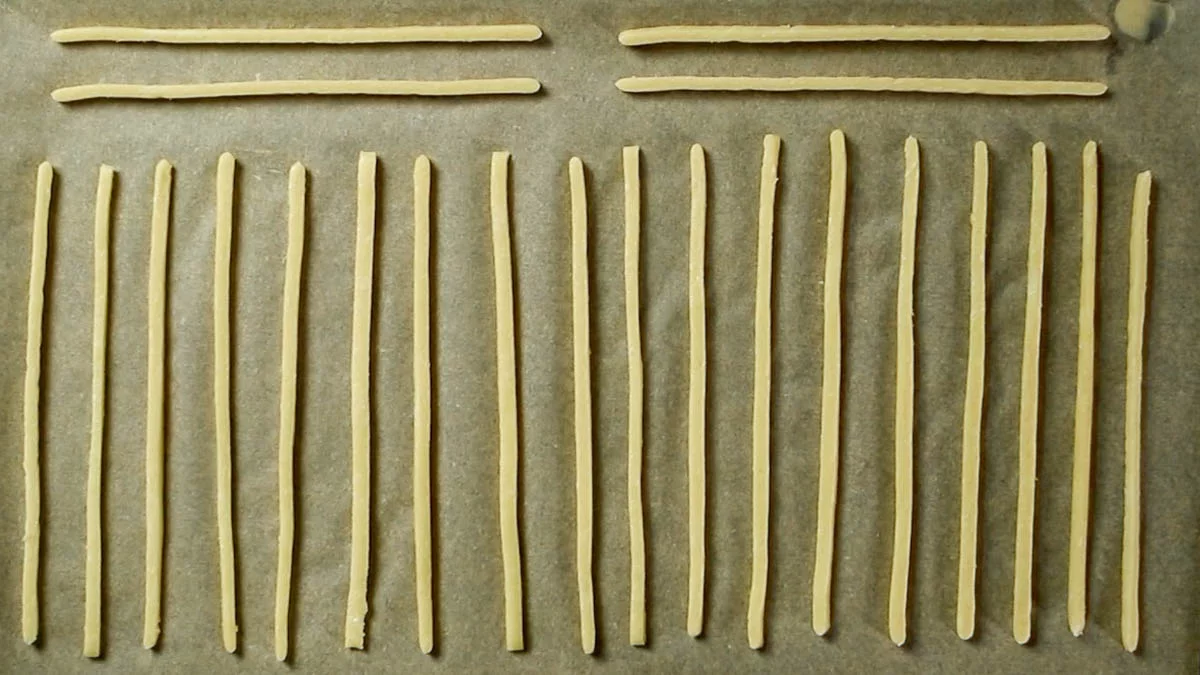
Cut open the zipper bag and take out the dough. Use a knife to cut it into long, thin strips about 5mm (0.2 inches) wide.
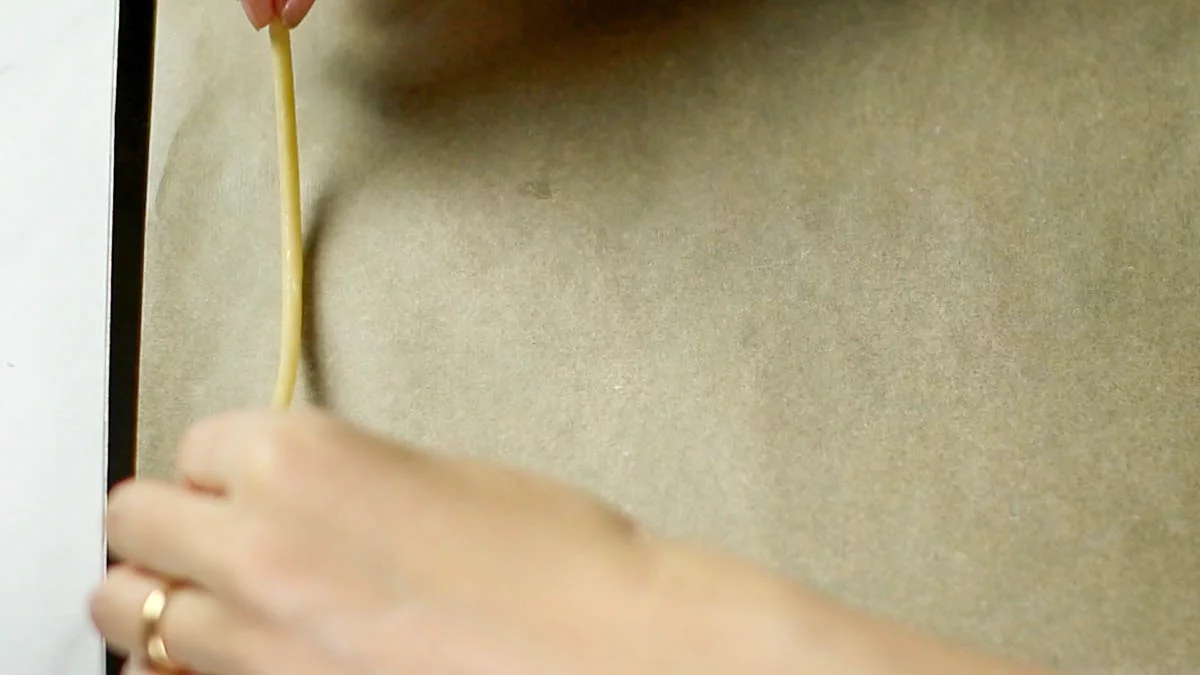
Place the cut dough in a straight line on the baking sheet lined with parchment paper. Be careful when moving the dough as it can break easily.
Bake for about 12 minutes in a preheated oven at 170℃ Celsius (338℉), or until lightly browned.
Let them cool before coating.
Chocolate Coating
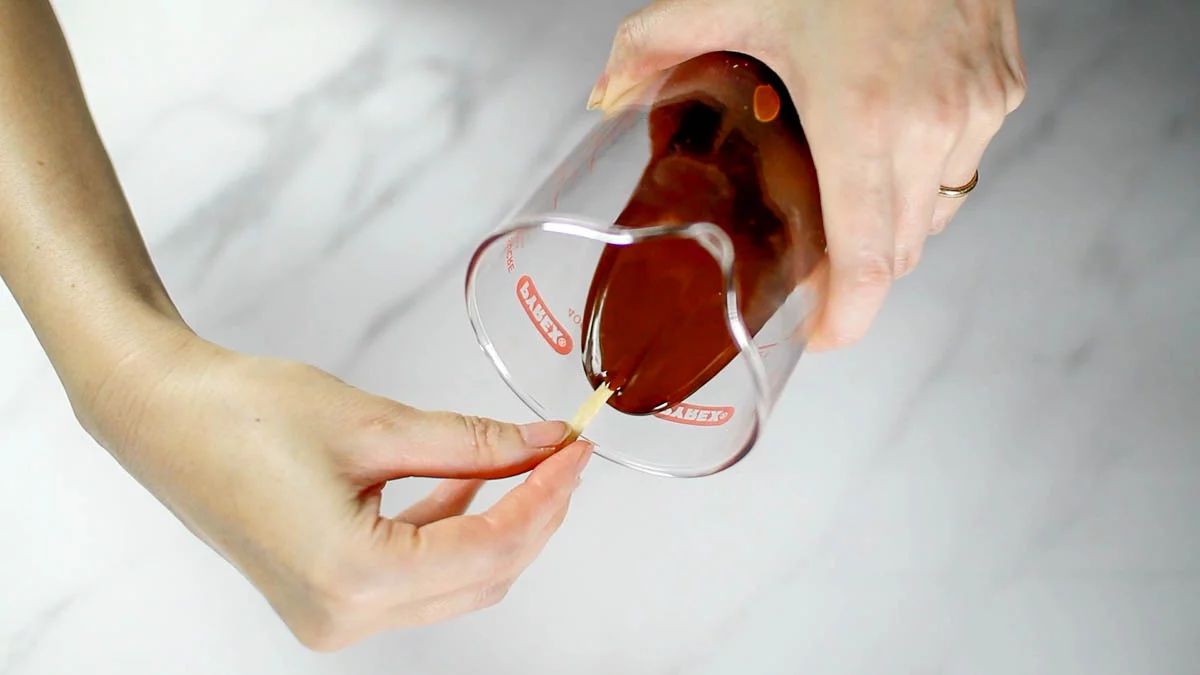
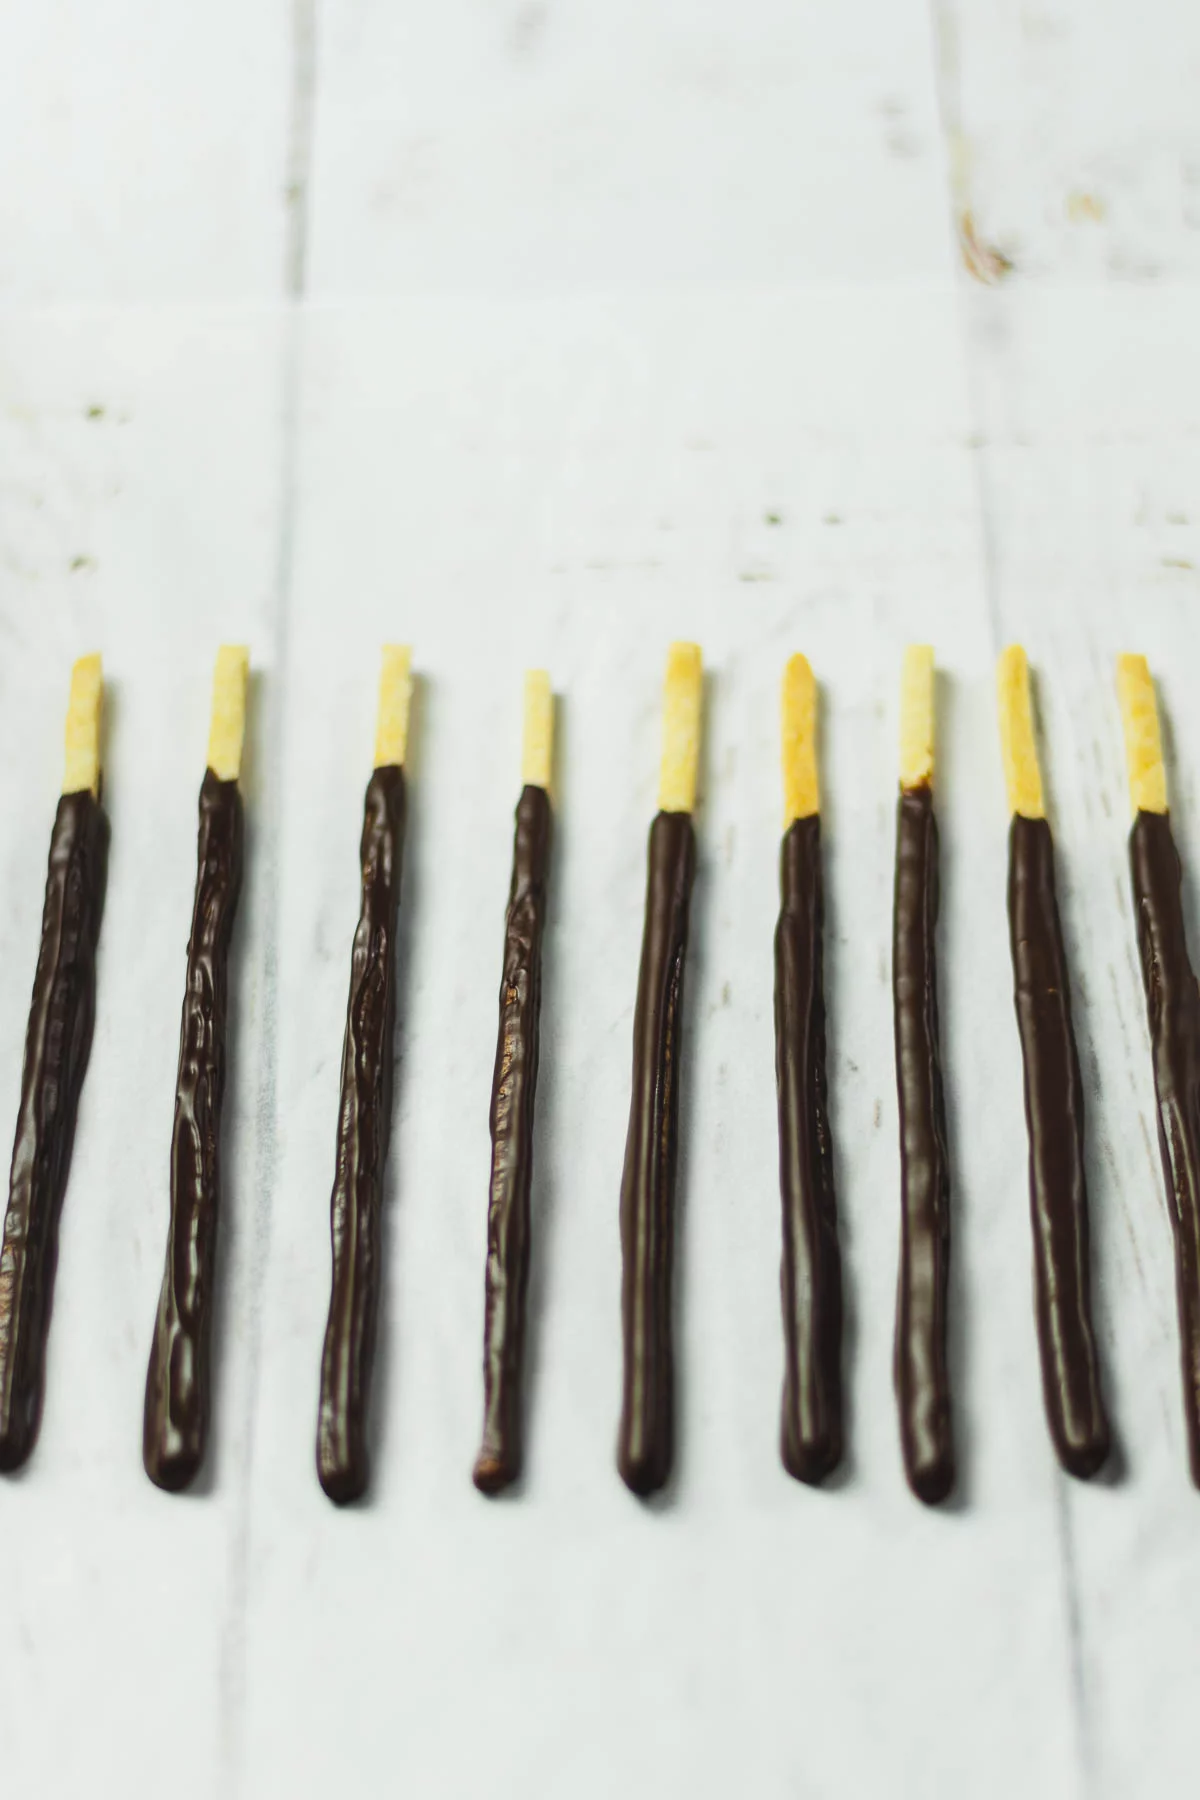
Melt the chocolate in a microwave or over a pan of simmering water. Place the melted chocolate in a long, narrow glass or other container.
Tilt the container and dip the Pocky dough into the chocolate. Remove excess chocolate well and place on a baking sheet.
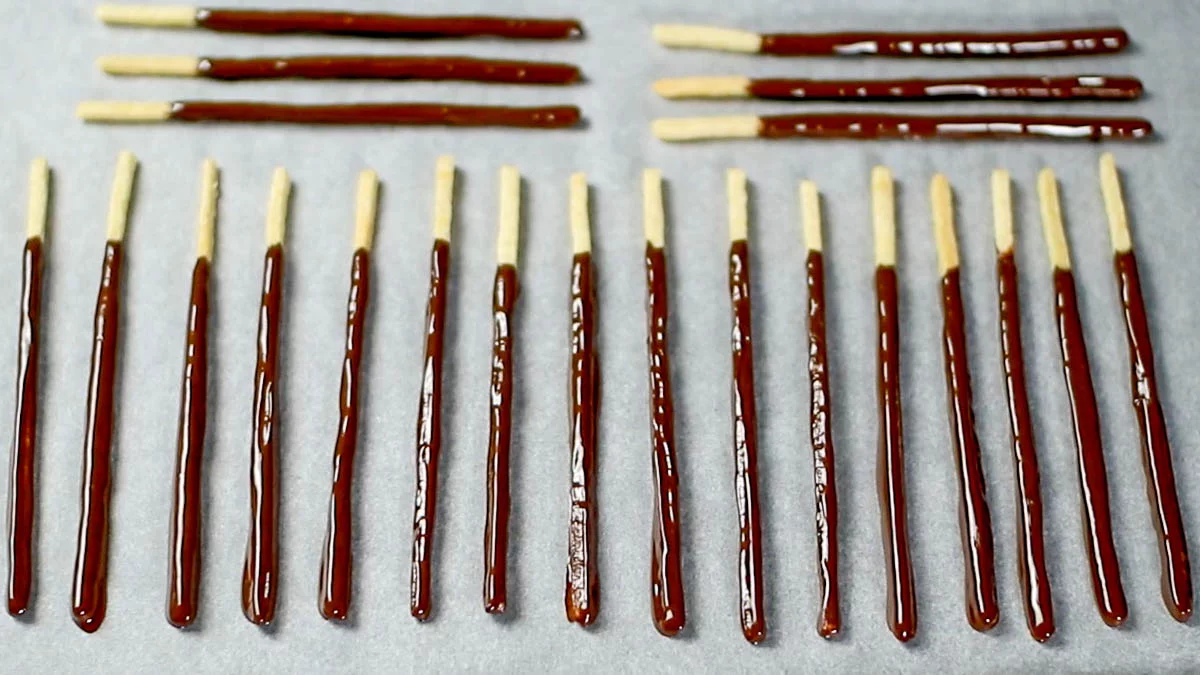
Refrigerate for 10 minutes until chocolate is set.
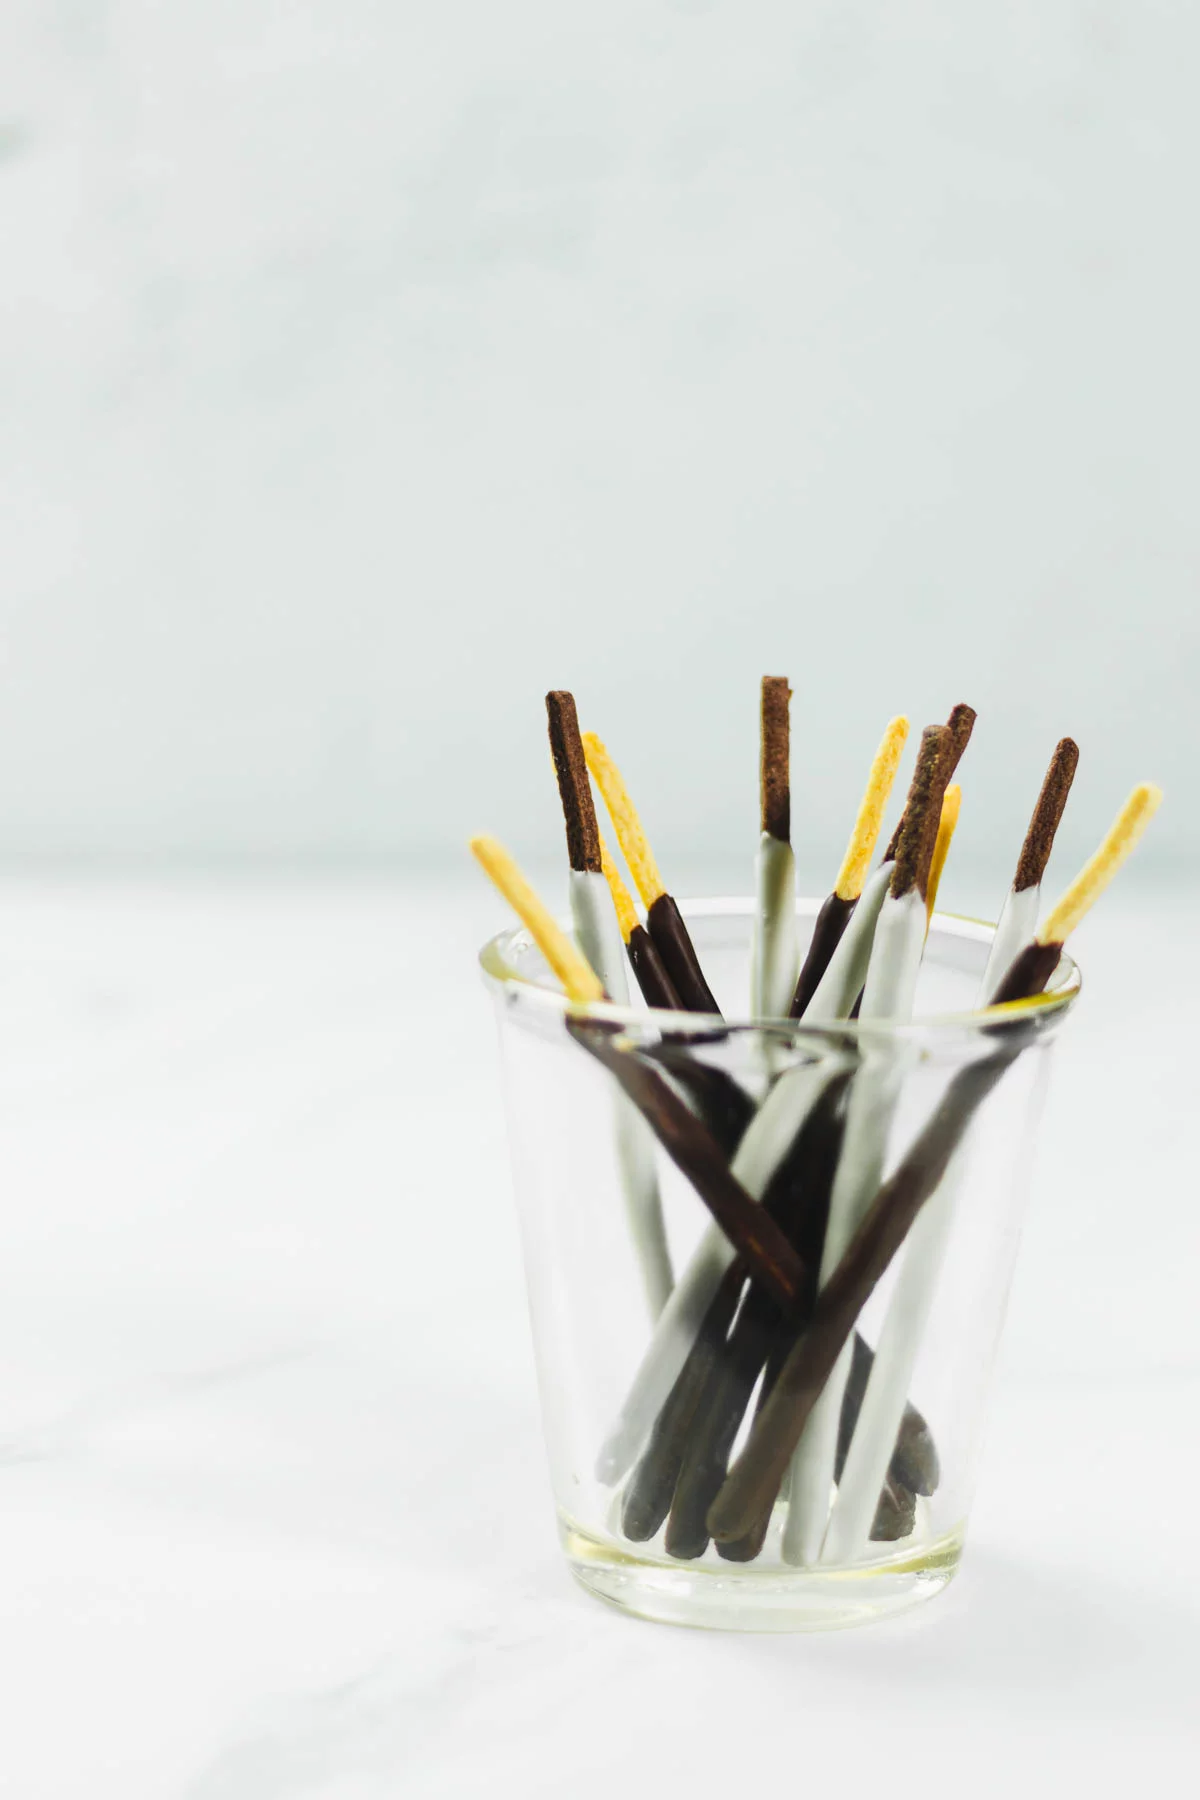
How to make Cocoa Pocky
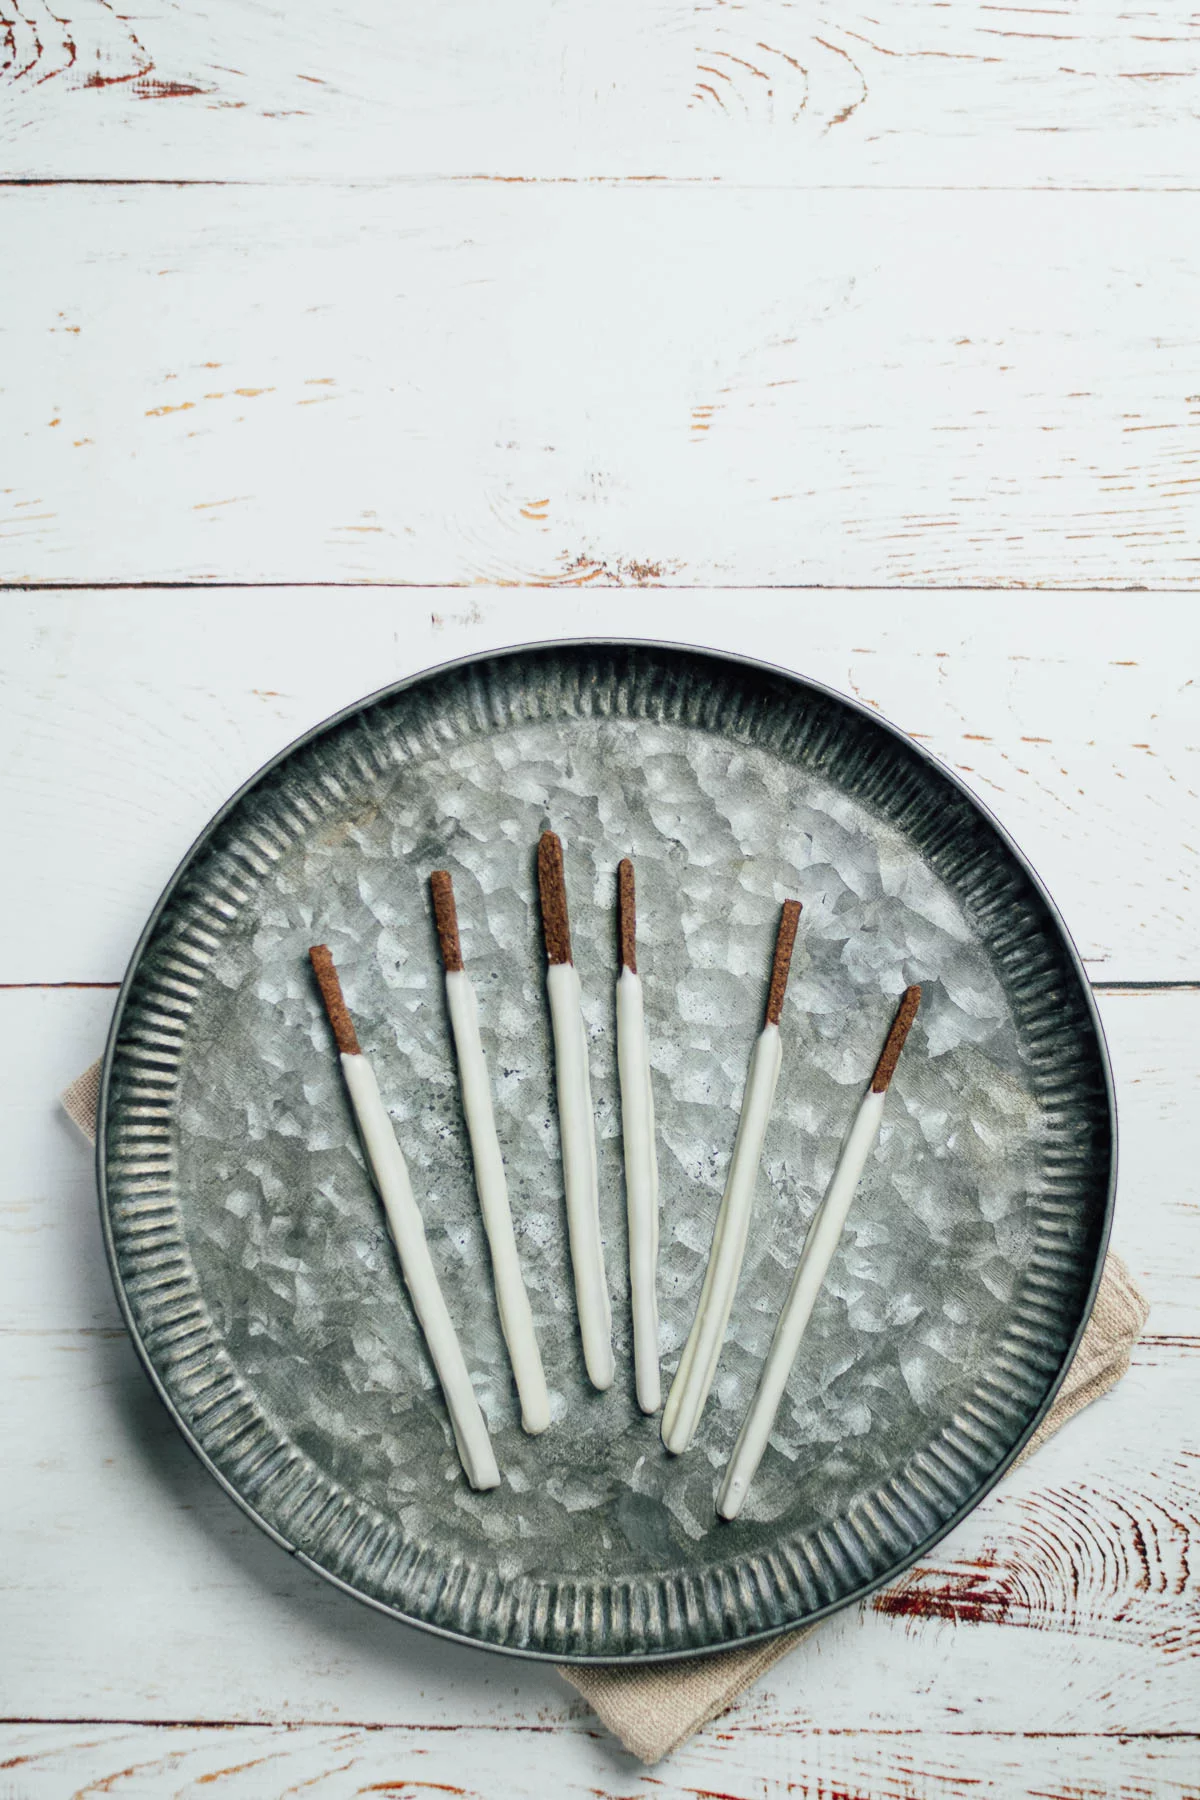
If you want to make cocoa-flavored dough using the same recipe, replace 50g of cake flour with 45g of cake flour and 5g of cocoa powder. The process is the same as the original recipe, except you need to add cocoa powder with the flour in the first step.
This recipe uses white chocolate for coating.
Storage
The shelf life of homemade Pocky is about 3-5 days.
Store them in an airtight container, in a cool, dark place away from direct sunlight, at room temperature.

Leave a Reply