This post may contain affiliate links. Read our privacy policy.
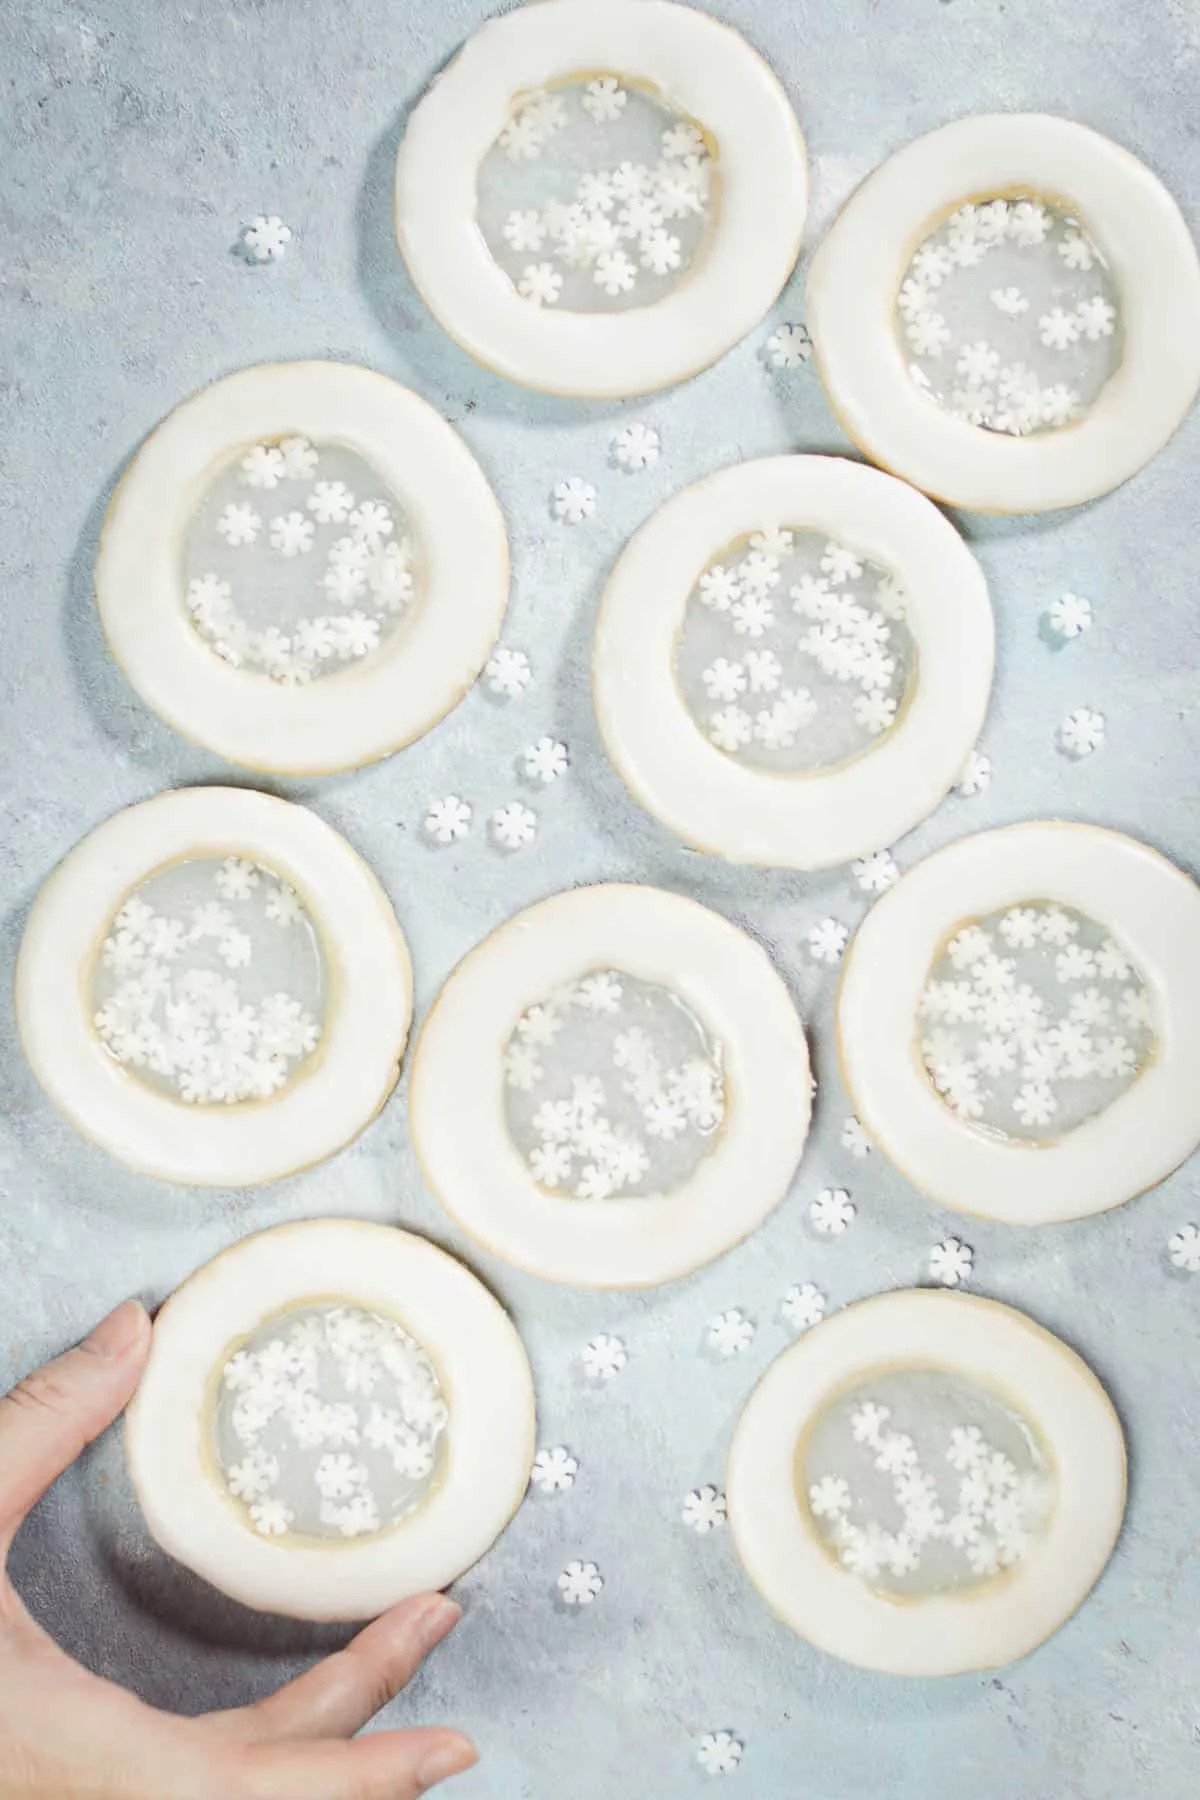
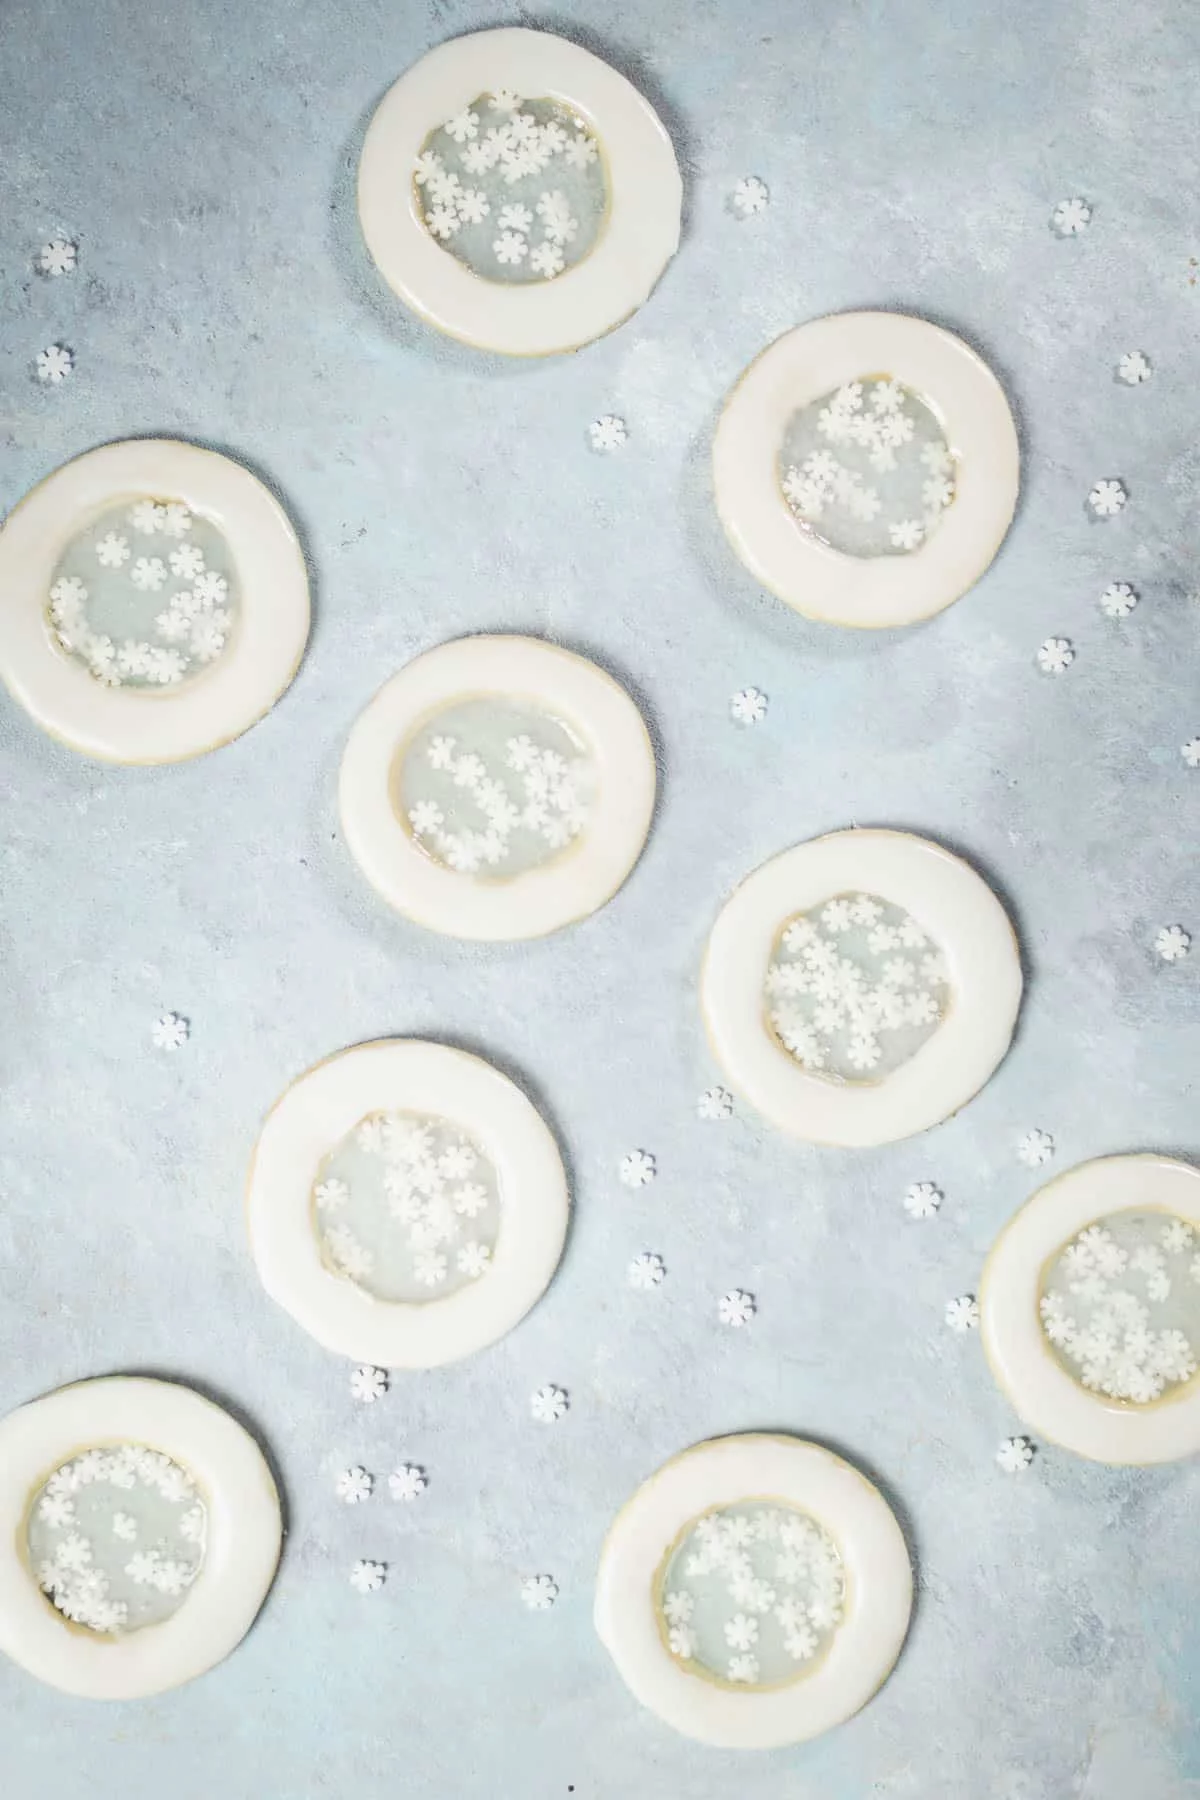
This is a recipe for stained glass cookies that look like snow globes with candy and snow sprinkles in the center. A perfect recipe for the Christmas season!
Jump to:
Watch the recipe video
Christmas stained glass cookies
Recipe for stained glass cookies with snowflakes
Stained Glass Cookies are cookies with holes filled with crushed candy, which melts and creates a stained glass effect when baked. They are not only visually appealing but also offer a delightful combination of crispy cookie texture and crunchy candy texture.
It's somewhat similar to the Romias Cookies with caramel and almonds that I made before, but this recipe is a bit easier as it uses store-bought candy. While Stained Glass Cookies are often made in vibrant colors, this time I decided to go with a white theme for a Christmas touch.
Ingredients
Cookie dough
You can use a regular cookie dough, such as a sablé dough, for this recipe. Since you wanted to achieve a whitish appearance, I've used only egg whites for this version.
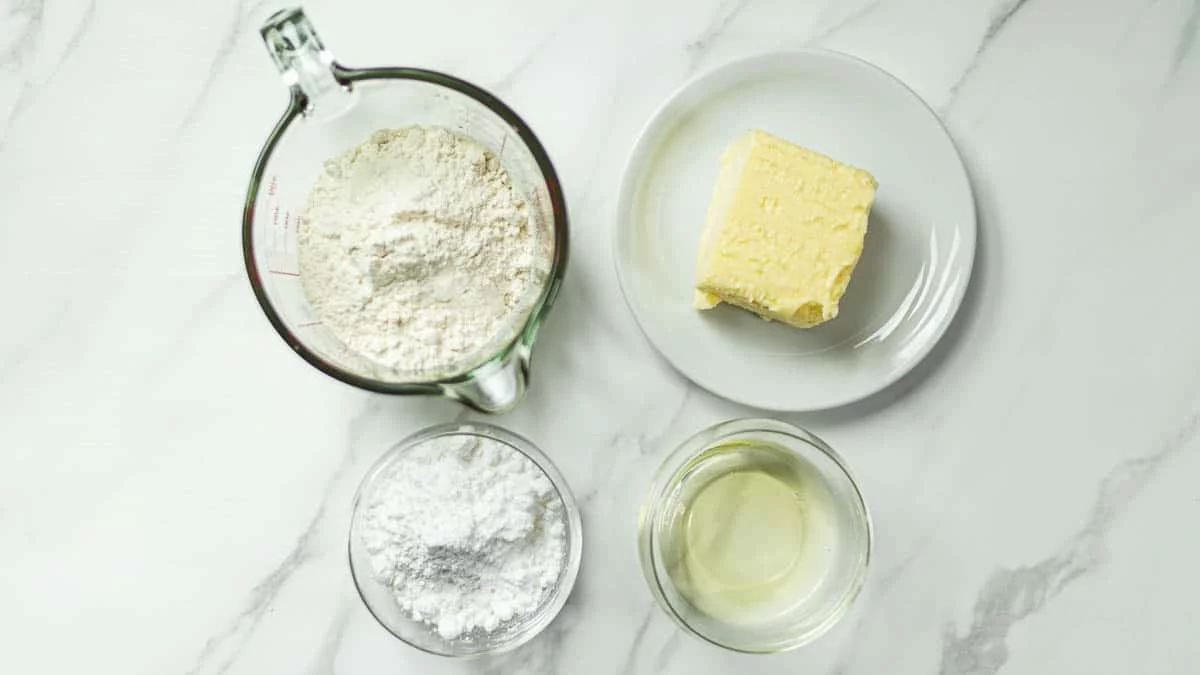
- Unsalted butter
- Powdered sugar
- Egg whites
- Cake flour
Center of cookies
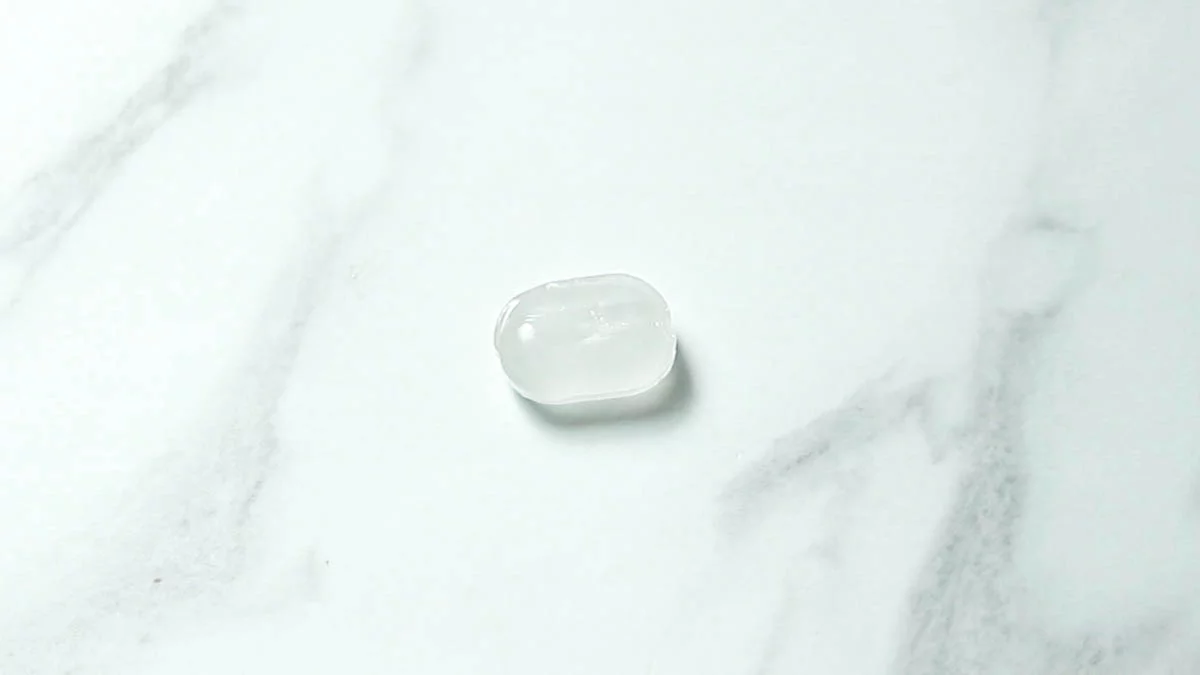
- Transparent candy - Use commercially available transparent candy. Be careful not to use cloudy ones.
- Sugar decorations (snowflakes) - I forgot to include them in the photo, but I add edible (of course!) snowflake sprinkles. Silver dragees or similar options would also look beautiful.
Icing
I think you can skip the icing if you prefer, but it does add a nice overall white appearance and enhances the atmosphere. If you have the time, I recommend giving it a try.
- Egg white
- Powdered sugar
About the time to melt the candy and bake the cookies
In this recipe, the cookies are partially baked in the oven first, and then the candies are placed in the center to melt while the cookies finish baking.
Candies can easily become discolored and turn brown if overheated, and the cookie dough can burn if baked for too long. Therefore, it's recommended to test melting the candies in the oven before baking them with the cookie dough.
When melting the candies in the oven, a temperature of around 150°C (300°F) for about 5 minutes is a general guideline. However, the melting time may vary depending on the type of candies and the oven used, so it's important to keep an eye on them and adjust the time as needed.
How to make it without candy
Candy can be surprisingly difficult to crush, and initially, using a rolling pin or a hammer may not be effective at all. Using pliers to hold and crush the candy is the easiest method, in my opinion.
However, even with that method, crushing multiple pieces can still be challenging. Additionally, finding clear, colorless candies can be quite difficult.
In such cases, you can consider using isomalt, as an alternative. Isomalt is a type of sugar substitute that is transparent and can be easily melted and molded. It can be found in specialty baking stores or online, and it provides a clear and glass-like appearance similar to traditional candies for your stained glass cookies.
What is Isomalt?
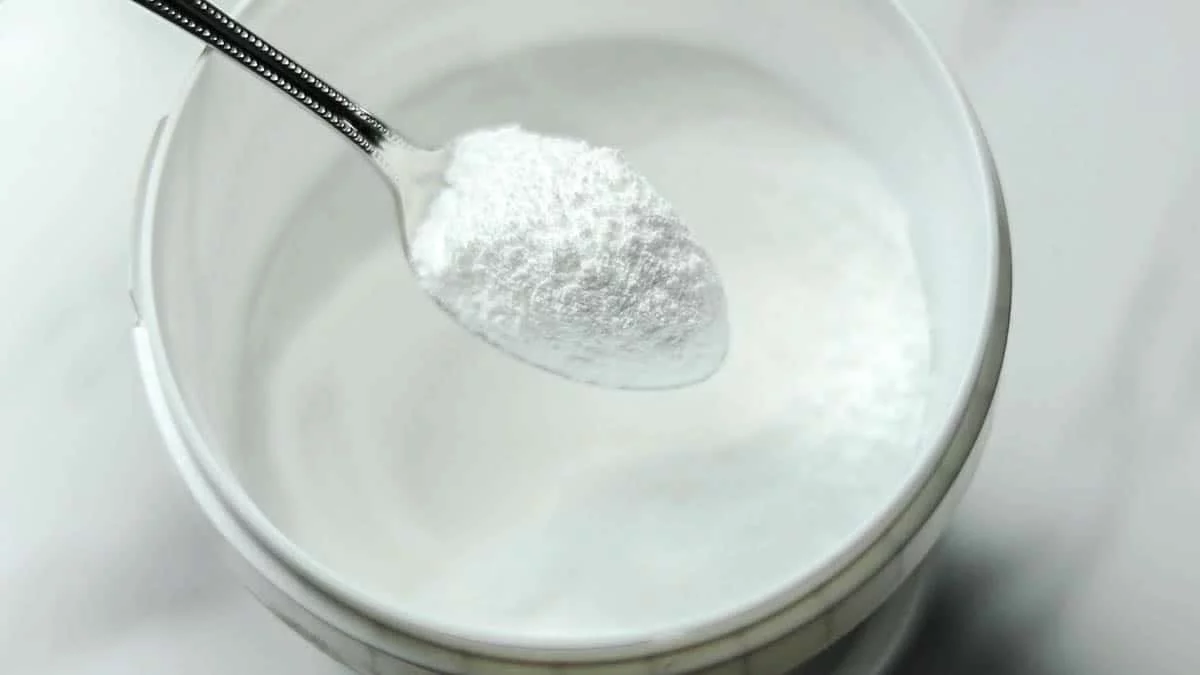
Isomalt, is a sugar substitute that belongs to the family of sugar alcohols. It is derived from beet sugar and is often used in baking and confectionery as a low-calorie alternative to sugar. Isomalt has a sweet taste but with fewer calories and a lower impact on blood sugar levels compared to regular sugar.
Isomalt has several unique properties that make it suitable for various applications. It has a high heat resistance, making it suitable for baking and candy-making processes that involve high temperatures. It also has a low hygroscopicity, meaning it does not readily absorb moisture from the environment, making it ideal for creating dry and stable candies. Isomalt can be melted, molded, and hardened to create transparent and glass-like structures, which is why it is often used in creating decorative elements like stained glass effects in cookies or cake decorations.
Instructions
Cookie dough
Preparation
- Leave the unsalted butter at room temperature to soften.
- Line a baking sheet with a Silpat (a non-stick baking mat that helps prevent browning on the bottom) or parchment paper.
- Preheat the oven to 170°C (340°F) 10 minutes before using.
- If using pliers to break the candy, make sure they are either unused or thoroughly washed and sanitized.
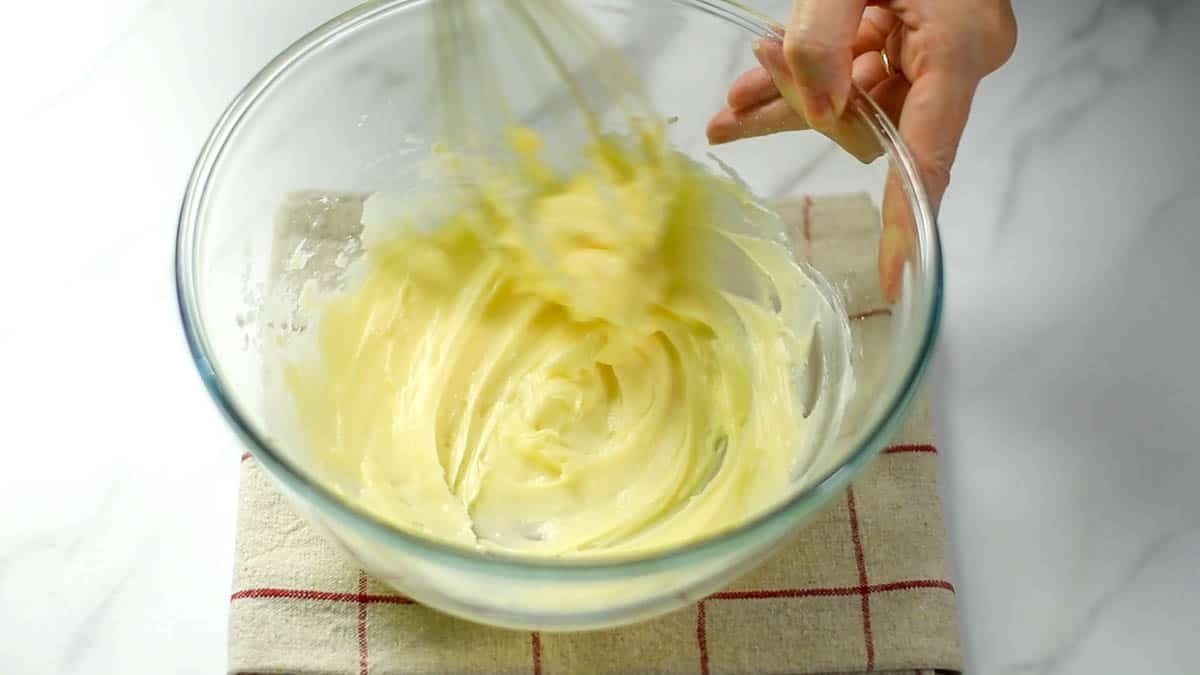
Put the softened butter and sifted powdered sugar into a bowl, and mix until the powdery texture of the sugar disappears.
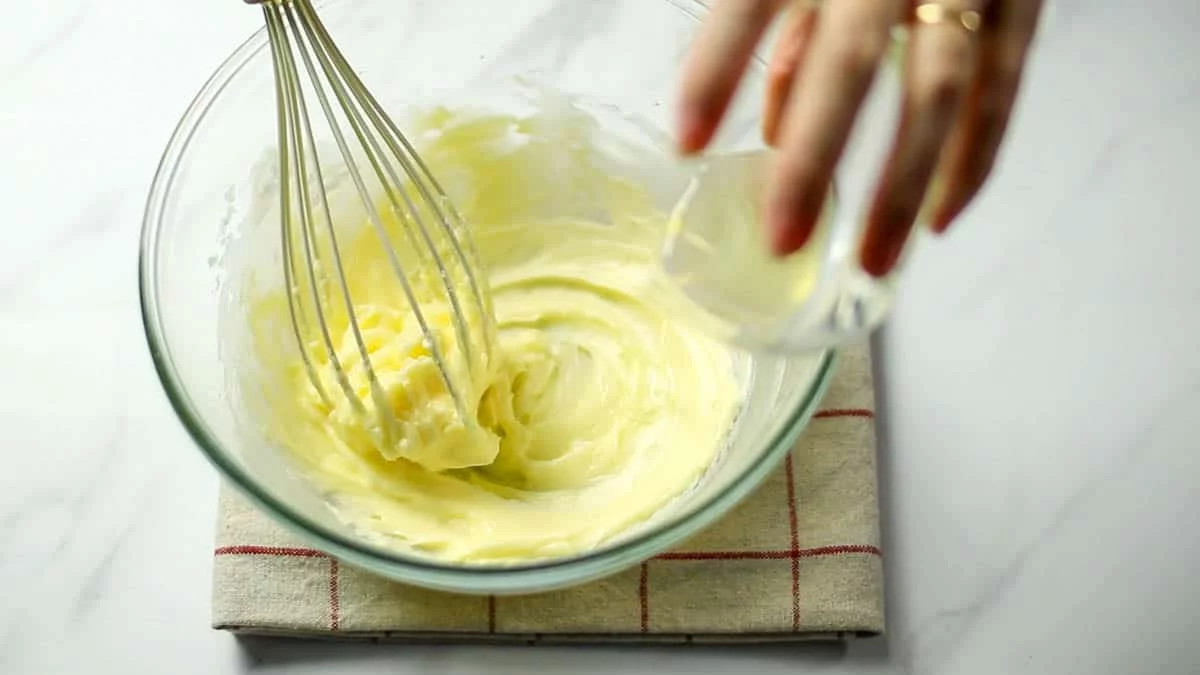
Add the egg whites gradually and mix them together. Since the butter may not blend well with just the egg whites, add them gradually and mix well after each addition.
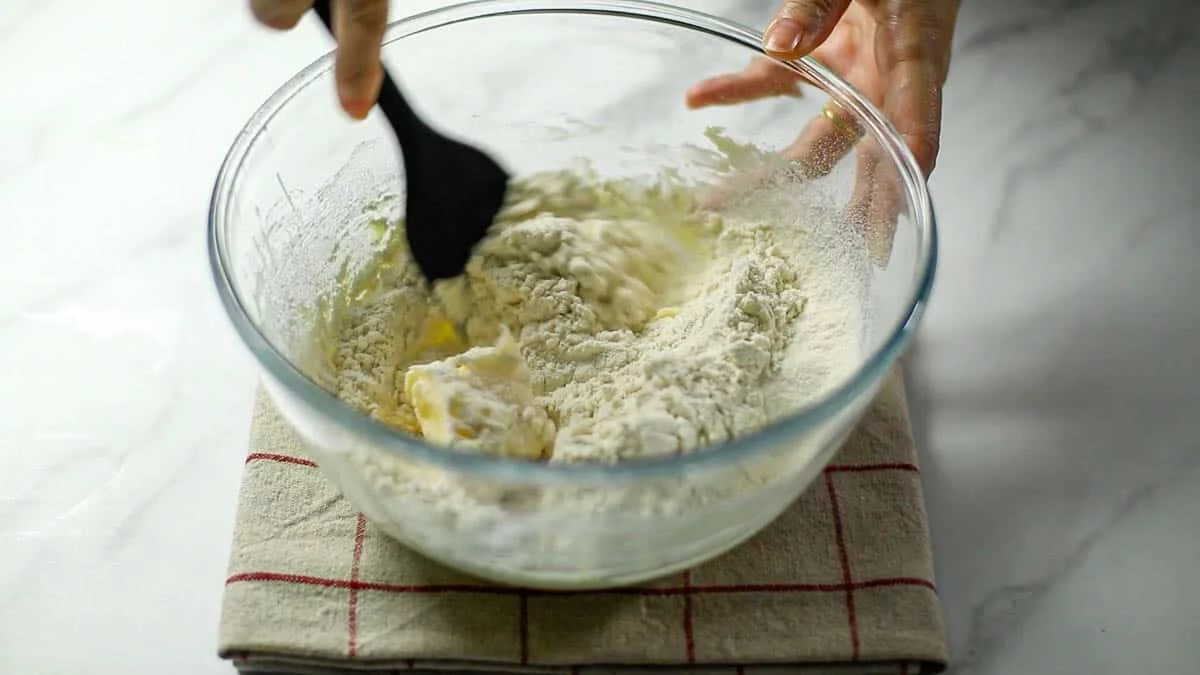
Add the sifted flour and mix with a rubber spatula.
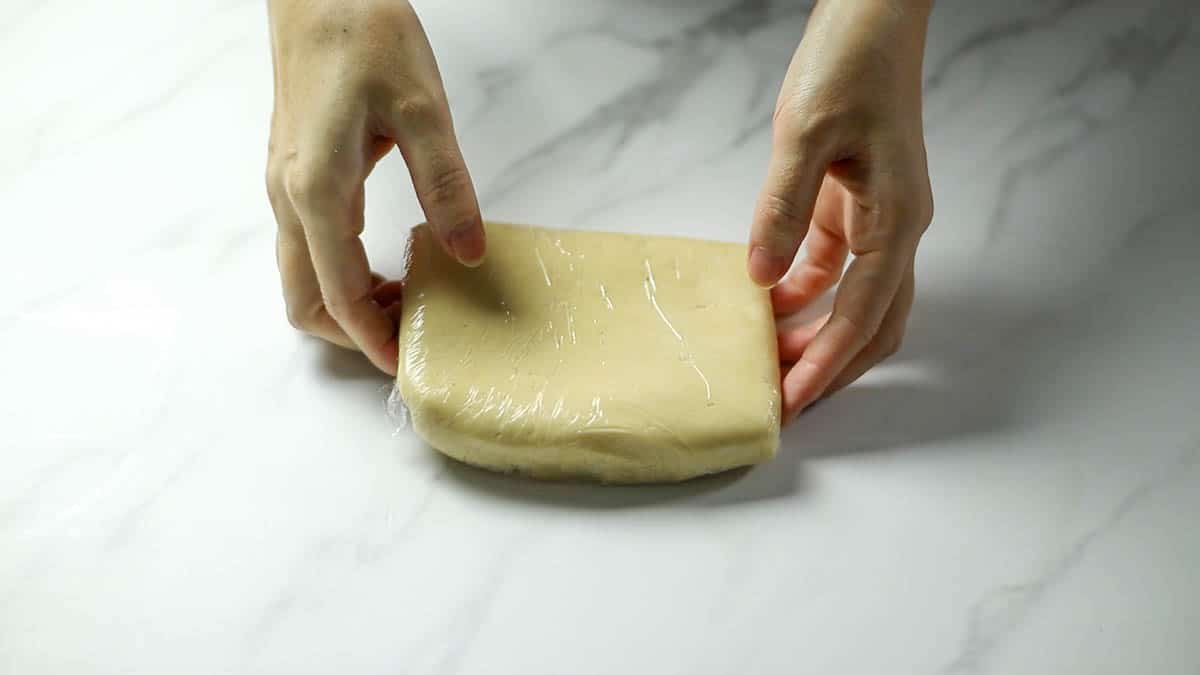
Shape flat, wrap in plastic wrap, and let rest in the refrigerator for at least 1 hour.
Roll out the dough & cut out the molds
Prepare two large sheets of parchment paper and place the dough between them. Use a rolling pin to flatten the dough to a thickness of about 3mm / 0.12 inches, gently pounding it as you go. Once rolled out, chill the dough in the refrigerator (or freezer) until it reaches a firm consistency that is easy for cutting shapes.
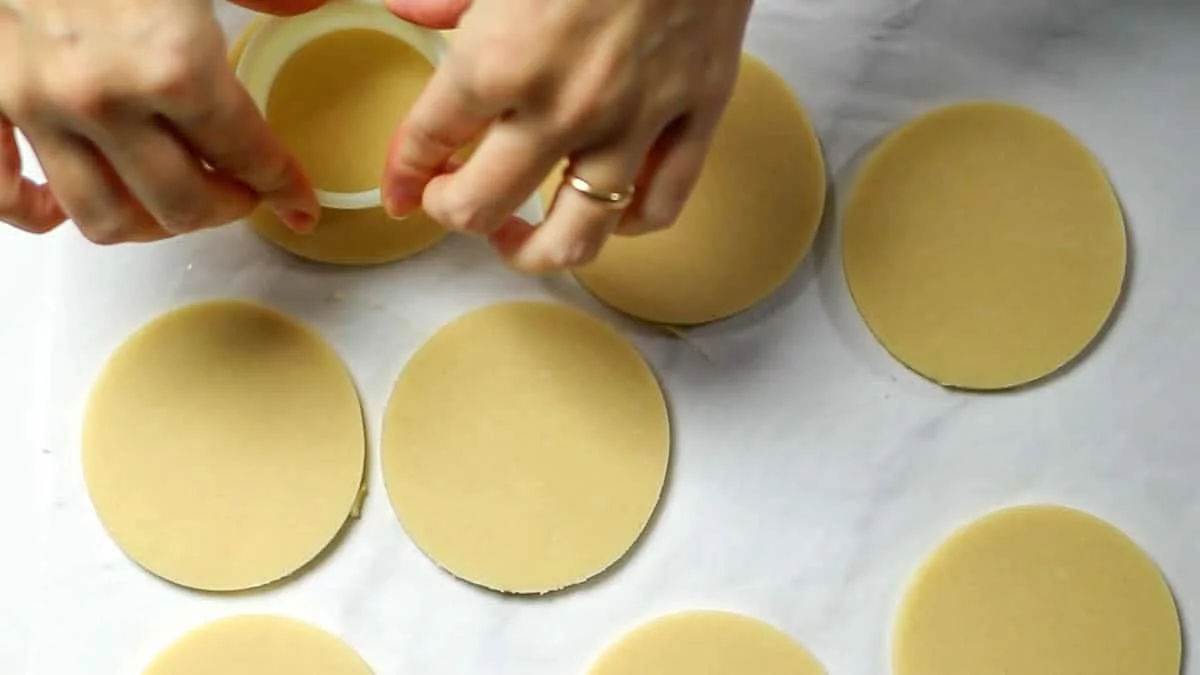
Carefully peel off the top and bottom sheets of parchment paper from the dough. Begin by cutting out large circles using a cookie cutter, then cut out smaller circles inside to create a donut shape.
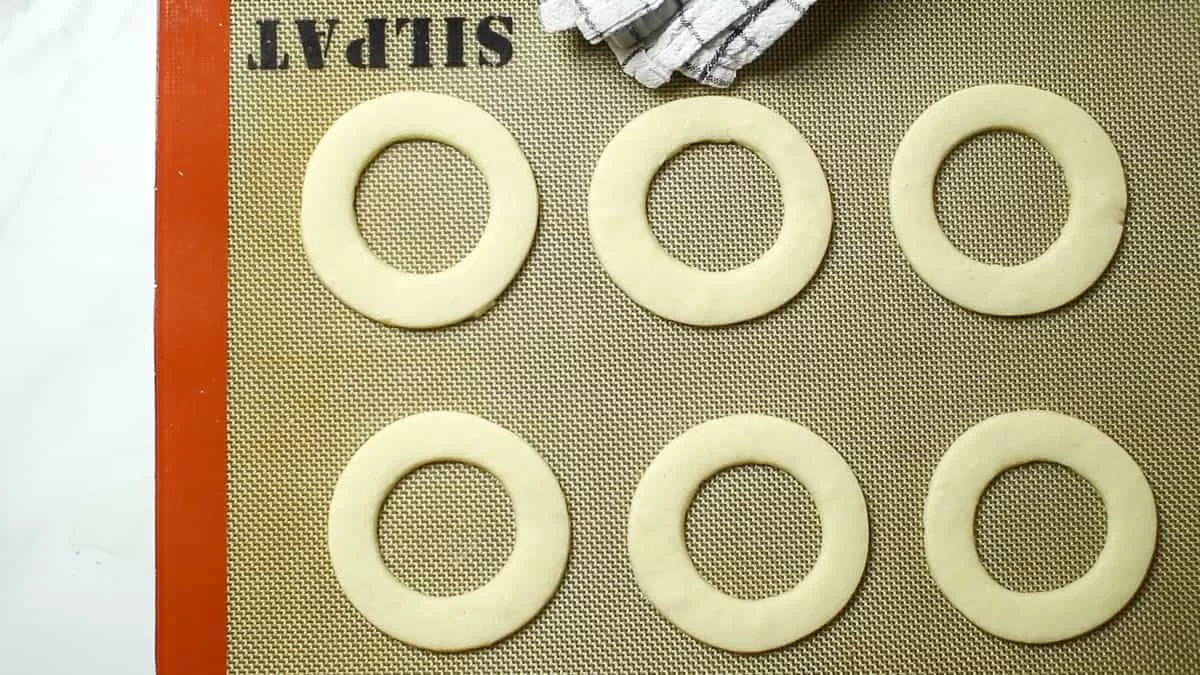
Place the dough on a baking sheet and bake in a preheated 170°C (340°F) oven for 10 minutes. Once the cookies have slightly browned and become slightly puffy, remove them from the oven. (They don't need to be fully cooked at this point since they will be baked again later.)
Candy preparation
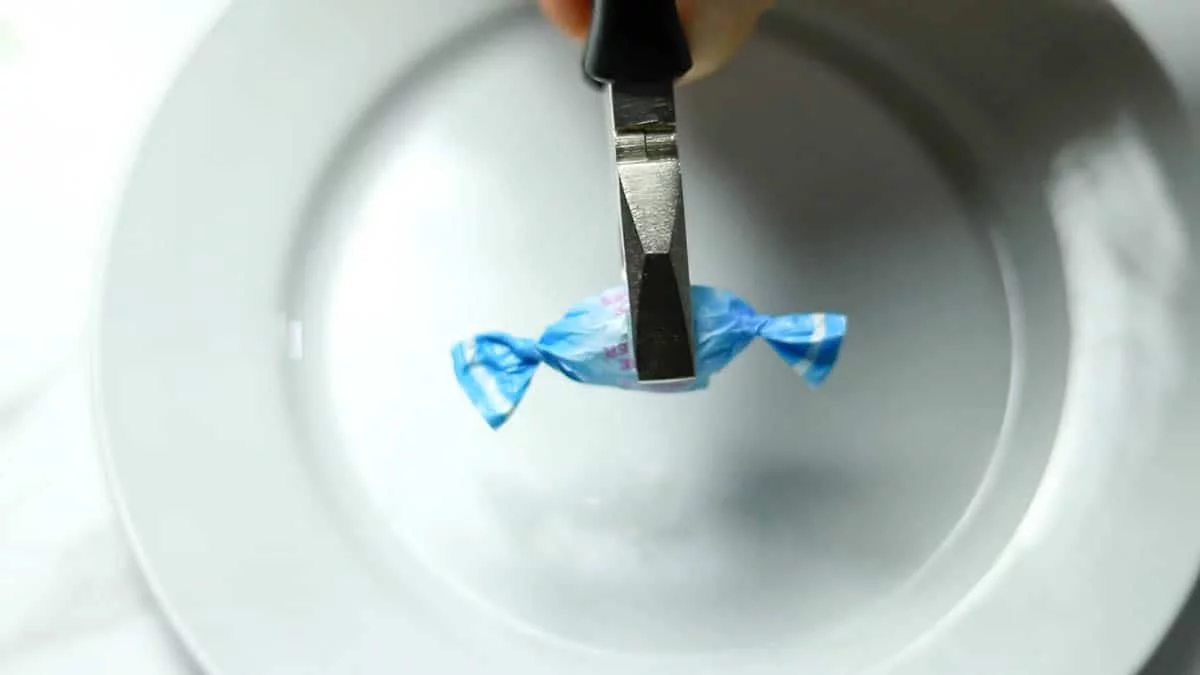
Crush the candy while it is still inside the bag using a pair of pliers.
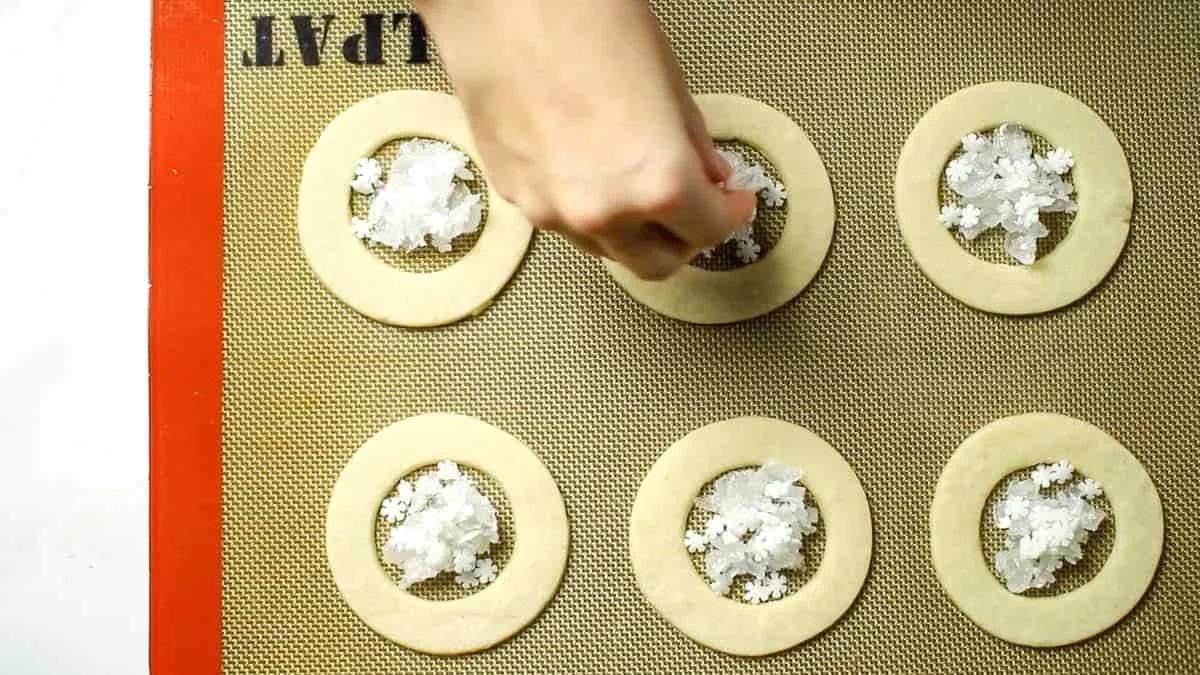
Place star-shaped sugar decorations and crushed candy in the center of the baked cookies.
Lower the oven temperature to 160°C (320℉) and bake for about 5 minutes. Remove from the oven when the candy has completely melted. If you feel that there is not enough candy or sugar decorations, you can add a little more while the cookies are still baking.
Icing
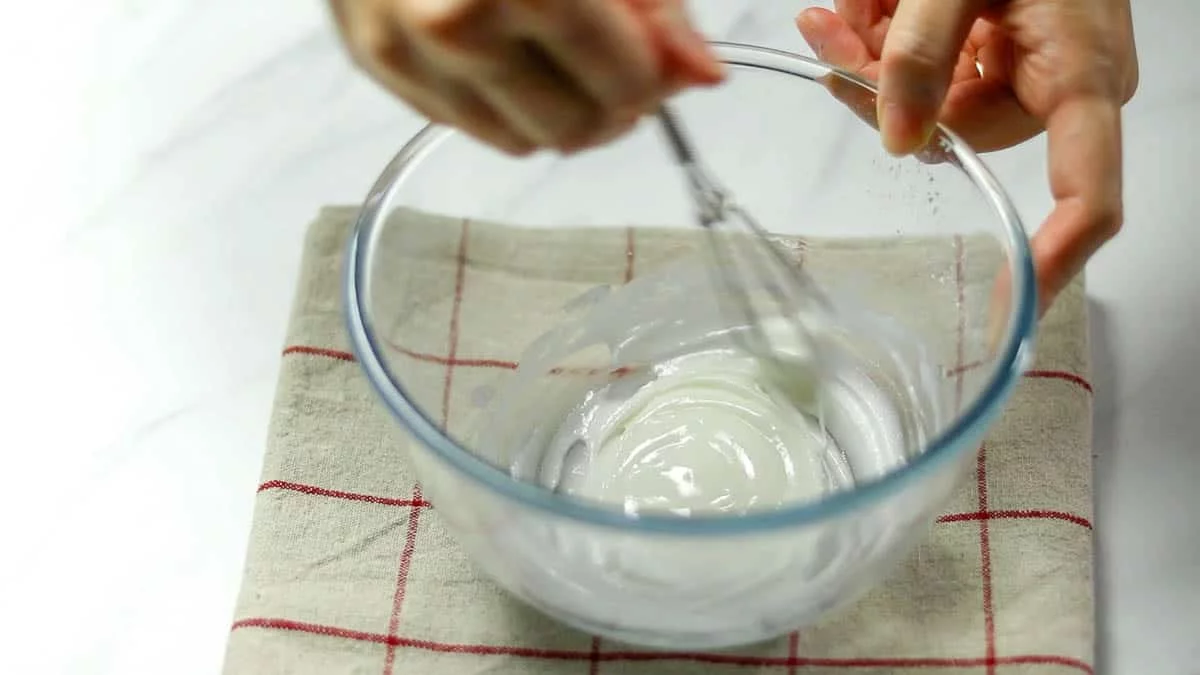
In a bowl, combine sifted powdered sugar and egg whites using a whisk or mixer. Mix until well combined. The consistency should be slightly loose as there is no need to draw lines or patterns.
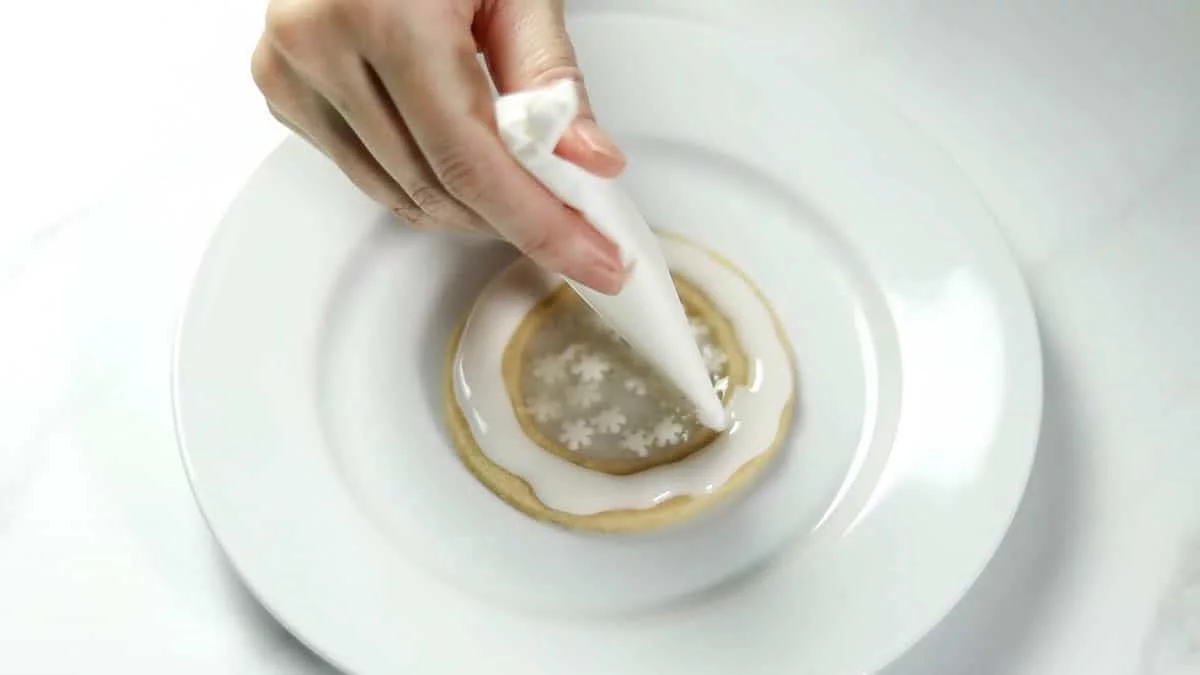
Spread the icing onto the cookie portion and allow it to dry. Once dry, the cookies are ready to be enjoyed!
Tips for Baking Stained Glass Cookies
The key is to synchronize the melting time of the candy with the baking time of the cookies. Since most people bake cookies more frequently at home, you likely have a good understanding of baking temperatures and times. However, melting candy in the oven might be less familiar. I suggest trying to melt the candy separately in the oven by crushing it and observing the melting temperature and time. Once you have that information, you can adjust the baking time of the cookies accordingly to achieve better results.
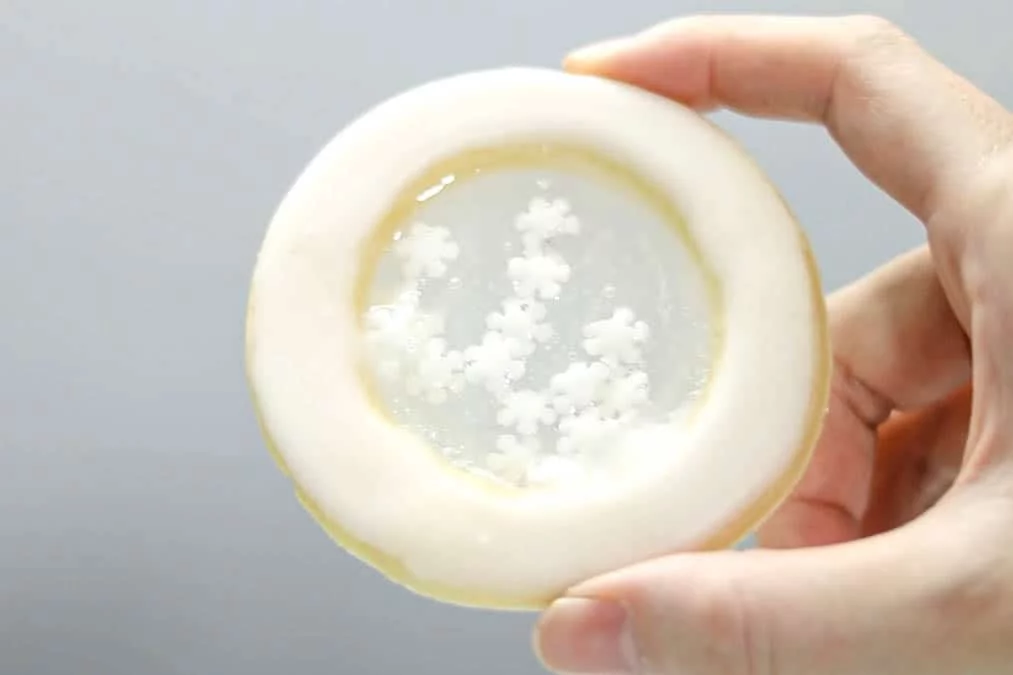
Storage
To keep the candy portion from absorbing moisture, it's best to store the cookies in an airtight container like a Tupperware. If possible, you can also add a desiccant to help absorb any excess moisture. When properly dried, the cookies can last for about 3-4 days.
If you want to extend their shelf life, using isomalt, which is less prone to moisture absorption compared to regular sugar, is recommended.
Equipment
When you want to avoid browning the cookies too much, using a Silpat (Silicone Baking Mat) is recommended. The Silpat helps distribute heat more evenly, resulting in cookies that are less likely to brown excessively. It allows you to achieve a lighter color on the cookies while still ensuring they are baked through.


Stained Glass Cookies with Candy
- Total Time: 35 minutes
- Yield: 18 cookies 1x
Description
This is a recipe for stained glass cookies that look like snow globes with candy and snow sprinkles in the center. A perfect recipe for the Christmas season!
Ingredients
Cookie Dough
- 125g unsalted butter
- 50g powdered sugar
- 20g egg white
- 150g cake flour
- Candy (transparent)
- Sugar decorations (snowflakes)
Icing
- 10g egg white
- 50g powdered sugar
Instructions
Preparation
- Leave the unsalted butter at room temperature to soften.
- Line a baking sheet with a Silpat (a non-stick baking mat that helps prevent browning on the bottom) or parchment paper.
- Preheat the oven to 170°C (340°F) 10 minutes before using.
- If using pliers to break the candy, make sure they are either unused or thoroughly washed and sanitized.
Cookie dough
- Put the softened butter and sifted powdered sugar into a bowl, and mix until the powdery texture of the sugar disappears.
- Add the egg whites gradually and mix them together. Since the butter may not blend well with just the egg whites, add them gradually and mix well after each addition.
- Add the sifted flour and mix with a rubber spatula.
- Shape flat, wrap in plastic wrap, and let rest in the refrigerator for at least 1 hour.
Roll out the dough & cut out the molds
- Prepare two large sheets of parchment paper and place the dough between them. Use a rolling pin to flatten the dough to a thickness of about 3mm / 0.12 inches, gently pounding it as you go. Once rolled out, chill the dough in the refrigerator (or freezer) until it reaches a firm consistency that is easy for cutting shapes.
- Carefully peel off the top and bottom sheets of parchment paper from the dough. Begin by cutting out large circles using a cookie cutter, then cut out smaller circles inside to create a donut shape.
- Place the dough on a baking sheet and bake in a preheated 170°C (340°F) oven for 10 minutes. Once the cookies have slightly browned and become slightly puffy, remove them from the oven. (They don't need to be fully cooked at this point since they will be baked again later.)
Candy preparation
- Crush the candy while it is still inside the bag using a pair of pliers.
- Place star-shaped sugar decorations and crushed candy in the center of the baked cookies.
- Lower the oven temperature to 160°C (320℉) and bake for about 5 minutes. Remove from the oven when the candy has completely melted. If you feel that there is not enough candy or sugar decorations, you can add a little more while the cookies are still baking.
Icing
- In a bowl, combine sifted powdered sugar and egg whites using a whisk or mixer. Mix until well combined. The consistency should be slightly loose as there is no need to draw lines or patterns.
- Spread the icing onto the cookie portion and allow it to dry. Once dry, the cookies are ready to be enjoyed!
Notes
Sure! When melting the candy in the oven, set the temperature to around 150°C (300°F) for approximately 5 minutes as a guideline. The melting time may vary depending on the composition of the candy and the type of oven. Be careful not to overheat the candy as it can turn brown in color. It's advisable to try melting the candy in the oven separately before baking it with the cookie dough.
If you're having difficulty finding the right kind of candy or find it challenging to crush the candy, you can use isomalt as an alternative. Isomalt is available in powdered form and can be melted by heating it in a pot or pan before use.
*Note: Melting candy can reach high temperatures, so please exercise caution to avoid burns.
- Prep Time: 20 minutes
- Additional Time: 0 hours
- Cook Time: 15 minutes
- Category: Cookies
- Cuisine: American
Nutrition
- Serving Size: 1
- Calories: 105
- Sugar: 6
- Sodium: 4
- Fat: 6
- Saturated Fat: 4
- Unsaturated Fat: 2
- Trans Fat: 0
- Carbohydrates: 13
- Fiber: 0
- Protein: 1
- Cholesterol: 15


Leave a Reply